Thông báo:
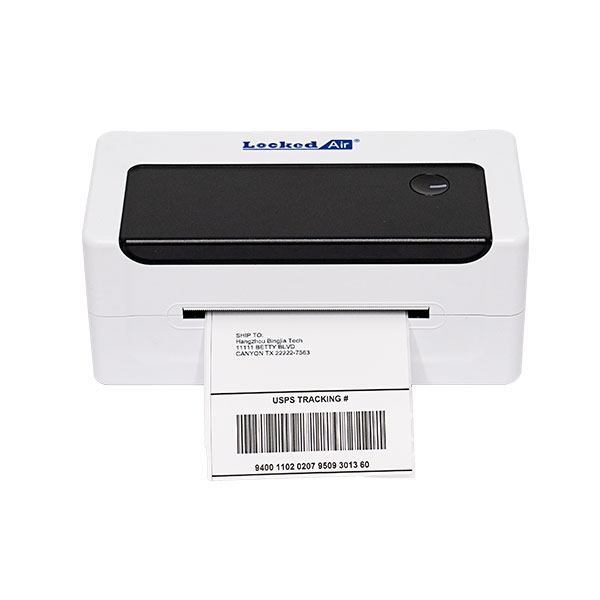
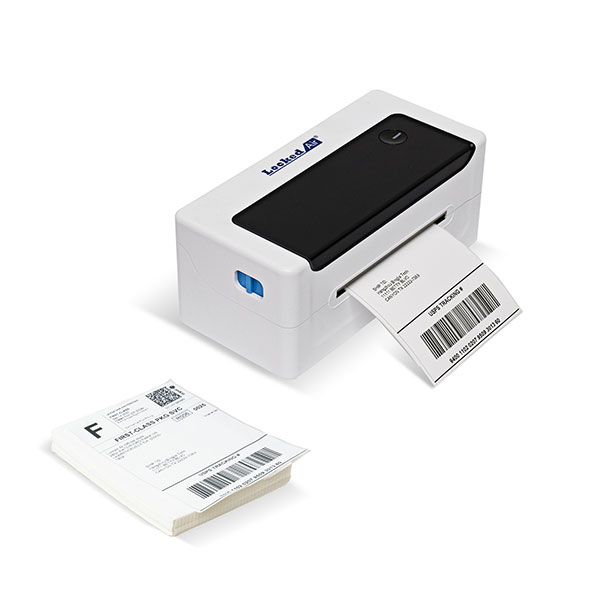
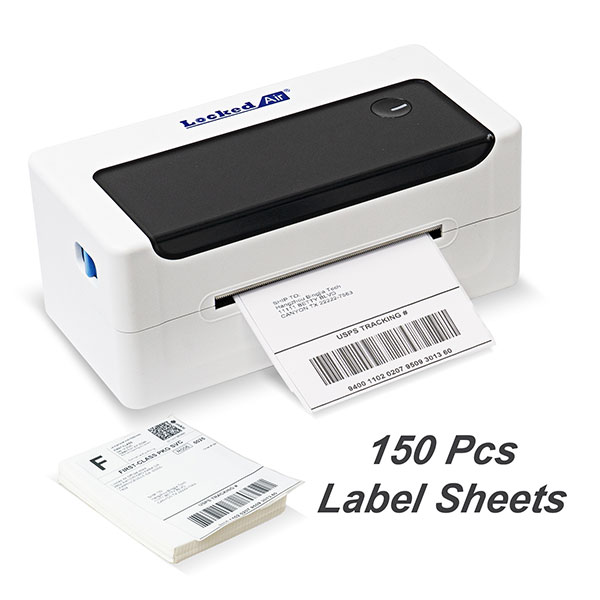
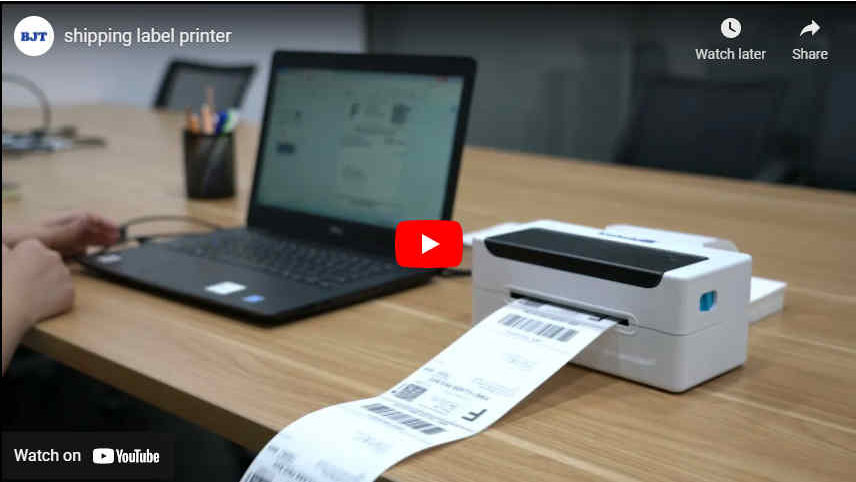
1. Máy in nhãn vận chuyển cho doanh nghiệp nhỏ không hỗ trợ wifi hoặc Bluetooth. Sử dụng cáp USB để kết nối với PC hoặc máy tính xách tay.
2. không có giá đỡ nhãn hoặc khay trong gói. Bạn chỉ có thể đặt các tờ nhãn gấp quạt trên bàn.
3. Máy in nhãn nhiệt 4x6 này tương thích với Mac OS 10.9, Mac OS 10.15, Mac OS 11, Mac OS XP, Linux (Ubuntu), Windows 03,Windows 7,Windows 8, windows 10.
Đặc điểm kỹ thuật:
| Thông số máy |
Phương pháp in | Máy in dòng nhiệt |
Phương pháp nạp giấy | Nạp giấy dễ dàng/nạp giấy tự động |
Tốc độ in | Phát hiện tốc độ thực tế: 127.38 mm/giây |
Chiều rộng giấy in | 104mm |
Độ phân giải hiệu quả | 203 dpi (tùy chọn 300 dpi) |
Loại giấy | Giấy Liên Tục, giấy nhãn, giấy nhãn đen |
Độ dày của giấy in | 0.06-0.18mm |
Chiều rộng in hiệu quả | Tối thiểu 38mm tối đa 112mm |
Kích thước ký tự | Phông chữ ASCII A: 12x24 ASCII Phông chữ B: 9x17 ký tự Trung Quốc 24x24 |
Loại giao diện | USB |
Bộ chuyển đổi nguồn | DC 24V - 2.5A |
Môi trường làm việc | Nhiệt độ hoạt động: 0-45 °c, Độ ẩm hoạt động: 20-90% |
Môi trường lưu trữ | Nhiệt độ bảo quản:-10 ~ 60 ° C, Độ ẩm lưu trữ: 10-90% |
Khắc phục sự cố
Bảng dưới đây cho thấy các vấn đề và giải pháp phổ biến cho các nhà khai thác.
Nếu bạn đã làm theo các phương pháp xử lý sự cố đơn giản nhưng máy in vẫn không hoạt động đúng, vui lòng liên hệ với bộ phận dịch vụ khách hàng của đại lý của bạn để được hỗ trợ.
| Khắc phục sự cố |
Đèn báo nguồn tắt | A. Phích cắm AC và phích cắm nguồn không được kết nối đúng với ổ cắm máy in. B. Công tắc nguồn máy in không bật. | A. Kiểm tra kết nối nguồn và xác nhận rằng phích cắm AC và phích cắm nguồn điện được kết nối đúng với ổ cắm máy in. B. Bật máy in lên. |
Không thể in | A. Cáp truyền thông không được kết nối đúng với máy in và máy chủ PC. B. Lỗi cài đặt giao diện truyền thông. C. Lỗi trạng thái in. | A. kết nối lại cáp truyền thông. |
Nội dung in không đầy đủ | A. giấy không tập trung. B. Cài đặt kích thước nhãn không chính xác. | A. Điều chỉnh vị trí giấy. B. Đặt đúng kích cỡ nhãn. |
Định vị không chính xác | A. việc học nhãn không được thực hiện. B. Bộ ghép quang phát hiện nhãn đường may bị lệch. C. chọn sai chế độ. | A. Học nhãn được thực hiện. B. Mở nắp để xác nhận xem thành phần phát hiện nhãn Đường may có bị bù không. Đối với giấy nhãn đen, di chuyển thành phần phát hiện nhãn đường may theo vị trí nhãn đen để bộ ghép quang phát hiện có thể phát hiện nhãn đen. Giấy Nhãn/giấy dán liên tục Bộ ghép quang detedion phải nằm trong phạm vi giấy. C. Sử dụng công cụ cài đặt để mở Thông tin máy in và xác nhận xem loại giấy có giống với giấy được nạp không Trong máy in, có thể thay đổi bằng cách sử dụng cài đặt TOD. |
Kết quả in kém | A. Lỗi nạp giấy. B. in lỗi cài đặt densrty/tốc độ. C. Đầu in/con lăn cao su có bụi hoặc tích tụ chất kết dính. D. đầu in bị hỏng. | A. nạp lại giấy. C. Làm sạch Đầu in/con lăn cao su. (Tham khảo 8.1 "đầu in làm sạch"/82 'cảm biến làm sạch * 78.3 "in làm sạch Thanh cao su của hướng dẫn sử dụng.) D. Sử dụng công cụ cài đặt để khắc phục điểm xấu Của mảnh đầu. Nếu đầu in bị hỏng, vui lòng liên hệ với bộ phận dịch vụ khách hàng của đại lý sửa chữa FTX của bạn. |
| Giải pháp nguyên nhân hiện tượng lỗi |
Hiện tượng lỗi | C. nguyên nhân | C. Giải pháp |
Đèn báo nguồn tắt | D. Phích cắm AC và phích cắm nguồn không được kết nối đúng với ổ cắm máy in. E. Công tắc nguồn máy in không bật. | D. Kiểm tra kết nối nguồn và xác nhận rằng phích cắm AC và phích cắm nguồn điện được kết nối đúng với ổ cắm máy in. E. Bật máy in. |
Không thể in | D. Cáp truyền thông không được kết nối đúng với máy in và máy chủ PC. E. Lỗi cài đặt giao diện truyền thông. F. Lỗi trạng thái in. | A. kết nối lại cáp truyền thông. |
Nội dung in không đầy đủ | C. Giấy không được đặt ở giữa. D. Cài đặt kích thước nhãn không chính xác. | C. Điều chỉnh vị trí giấy. D. Đặt đúng kích cỡ nhãn. |
Định vị không chính xác | D. việc học nhãn không được thực hiện. E. Bộ ghép quang phát hiện nhãn đường may bị lệch. F. chọn sai chế độ. | D. Học nhãn được thực hiện. E. Mở nắp để xác nhận xem thành phần phát hiện nhãn Đường may có bị bù không. Đối với giấy nhãn đen, di chuyển thành phần phát hiện nhãn đường may theo vị trí nhãn đen để bộ ghép quang phát hiện có thể phát hiện nhãn đen. Giấy Nhãn/giấy dán liên tục Bộ ghép quang detedion phải nằm trong phạm vi giấy. F. Sử dụng công cụ cài đặt để mở Thông tin máy in và xác nhận xem loại giấy có giống với giấy được nạp không Trong máy in, có thể thay đổi bằng cách sử dụng cài đặt TOD. |
Nhấp để xem thông số kỹ thuật chi tiết
 中文
中文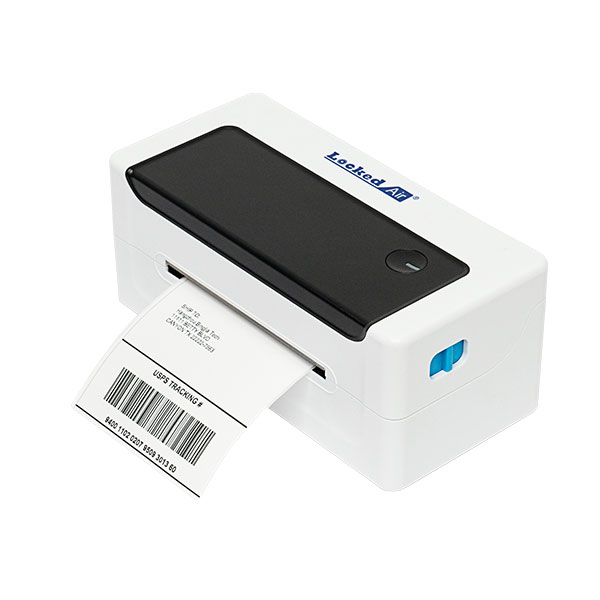
 Aug 08,2023